
Getting Started
Create your first Pipeline
One guided flow sets up where leads come from, who counts as a good one, and what gets sent. Ten minutes end to end.
The Pipeline builder creates everything at once — signals, ICP, lead list and campaign — so you don't have to set up four things separately and wire them together.
Before you start: connect a LinkedIn account.
Step 1 — Choose where leads come from
Pick one or more sources. You can combine them; each becomes its own signal feeding the same list.
| Source | Good for |
|---|---|
| Keyword monitoring | Catching people complaining about a competitor or describing your problem out loud |
| Job posts | Companies hiring for a role that implies they need you |
| Profile search | Finding people by title, company size and location — no waiting for them to post |
| Your network | Working connections you already have |
| CSV import | A list you already own |
Each source has a Learn more link that explains what it does and what it needs, without leaving the flow.
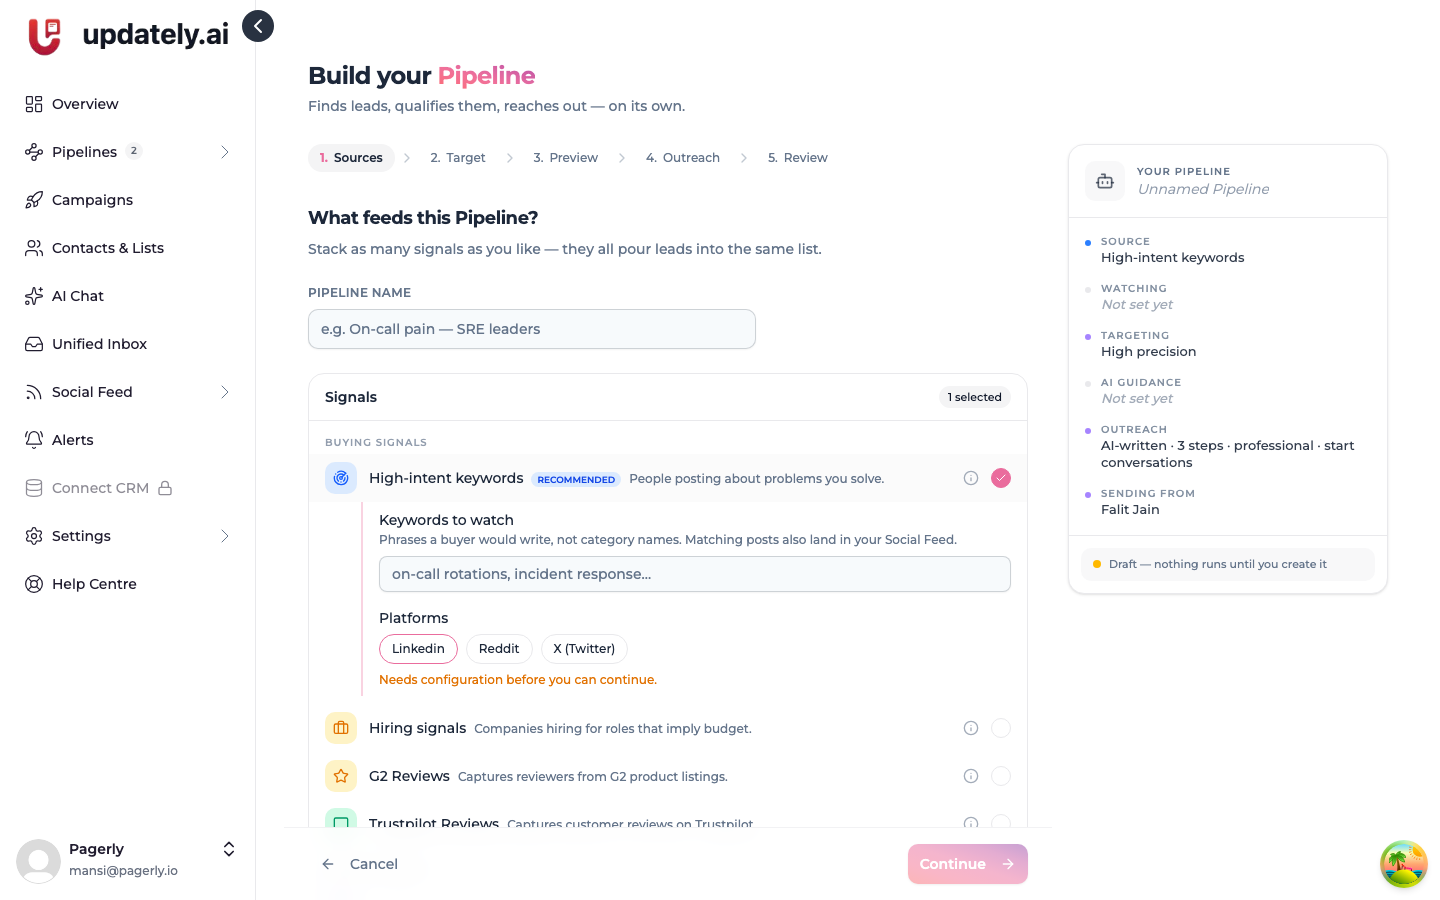
Starting out, pick one source. It's much easier to judge whether your targeting is right when there's only one thing feeding it.
Step 2 — Configure each source
What's needed depends on the source: keywords to watch, job titles to search, locations, company sizes, a file to upload.
Step 3 — Describe your ideal customer
This is the filter every captured lead is scored against. Describe who you sell to in plain language — the roles, the kind of company, the size, the signals that mean they're worth your time.
Then choose how strict to be:
- High precision — fewer leads, tighter fit
- Broader — more volume, more noise
This filter genuinely rejects people. A very narrow ICP with a low-volume signal can legitimately produce almost nothing. If your list stays empty, loosen the ICP before assuming something is broken.
See Your ICP.
Step 4 — Write your outreach
Set up the sequence. The usual shape:
- Connection request with a short note
- Message a day after they accept
- Message a couple of days later
Write the messages yourself, or give AI a prompt and let it personalise each one.
Remember that message delays start when the person accepts, not when the invite was sent. See Connection requests and acceptance.
Step 5 — Review and launch
Check the summary, name your Pipeline, and create it. You'll get links straight to the signals, ICP, list and campaign it built, so you can adjust anything.
What to expect next
- Signals start finding people on their next run.
- Captured leads are scored against your ICP; the ones that fit land in your list.
- Your campaign begins working through them, within your daily sending limits.
Nothing is instant. A signal needs people to actually post, and a campaign needs people to actually accept. Give it a few days before judging the targeting.